
Executive Overview
For generations, the glowing screens, hypnotic synthesized audio, and tactile click of joysticks defined the cultural touchstone of the local arcade. Today, nostalgia has driven a massive resurgence in home arcade building, allowing enthusiasts to bring the authentic neon-lit experience directly into their basements, game rooms, and living spaces. However, embarking on a do-it-yourself (DIY) retro arcade cabinet project is far more than a simple afternoon craft. It is a nuanced engineering and woodworking endeavor that requires careful alignment of hardware processing power, custom control interfaces, software environments, and physical carpentry.
At first glance, the task can feel overwhelmingly complex. Prospective builders are immediately confronted with a daunting array of technical choices: Should you power the system with a cutting-edge Raspberry Pi or repurpose an aging desktop PC? Will your library consist purely of early-era vertical classics like Pac-Man and Galaga, or are you planning to accommodate complex six-button fighters like Street Fighter and four-player simultaneous beat-’em-ups? Furthermore, builders must carefully weigh the financial realities of DIY construction against pre-fabricated retail alternatives, such as turnkey cabinets from Arcade1Up.
This comprehensive guide walks through everything you need to know to conceptualize, budget, build, and optimize your own custom retro arcade cabinet. By breaking down the process into deliberate, manageable phases—ranging from software front-ends and control panel layout to total project economics—you can sidestep common pitfalls and construct a machine tailored precisely to your gaming preferences.
Detailed Chronology: The Step-by-Step Path to Arcade Construction
Building a custom arcade cabinet is a journey that demands a methodical approach. Skipping steps or diving into construction without a plan often leads to irreversible woodworking mistakes, mismatched components, or software bottlenecks.
Phase 1: Game Library Definition and Control Planning
The most critical—and frequently overlooked—starting point for any arcade project is defining what you want the machine to play. While it is tempting to immediately dive into processor specifications, your software catalog dictates your physical hardware.
If your vision is limited to classic 1980s golden-age titles, your control panel can remain sleek and simple, featuring a single four-way or eight-way joystick and one or two action buttons. Conversely, expanding your ambitions to include 1990s fighting games requires six action buttons per player. Specialized titles like Golden Tee or classic trackball games mandate dedicated peripherals like optical trackball modules or heavy-duty spinners.
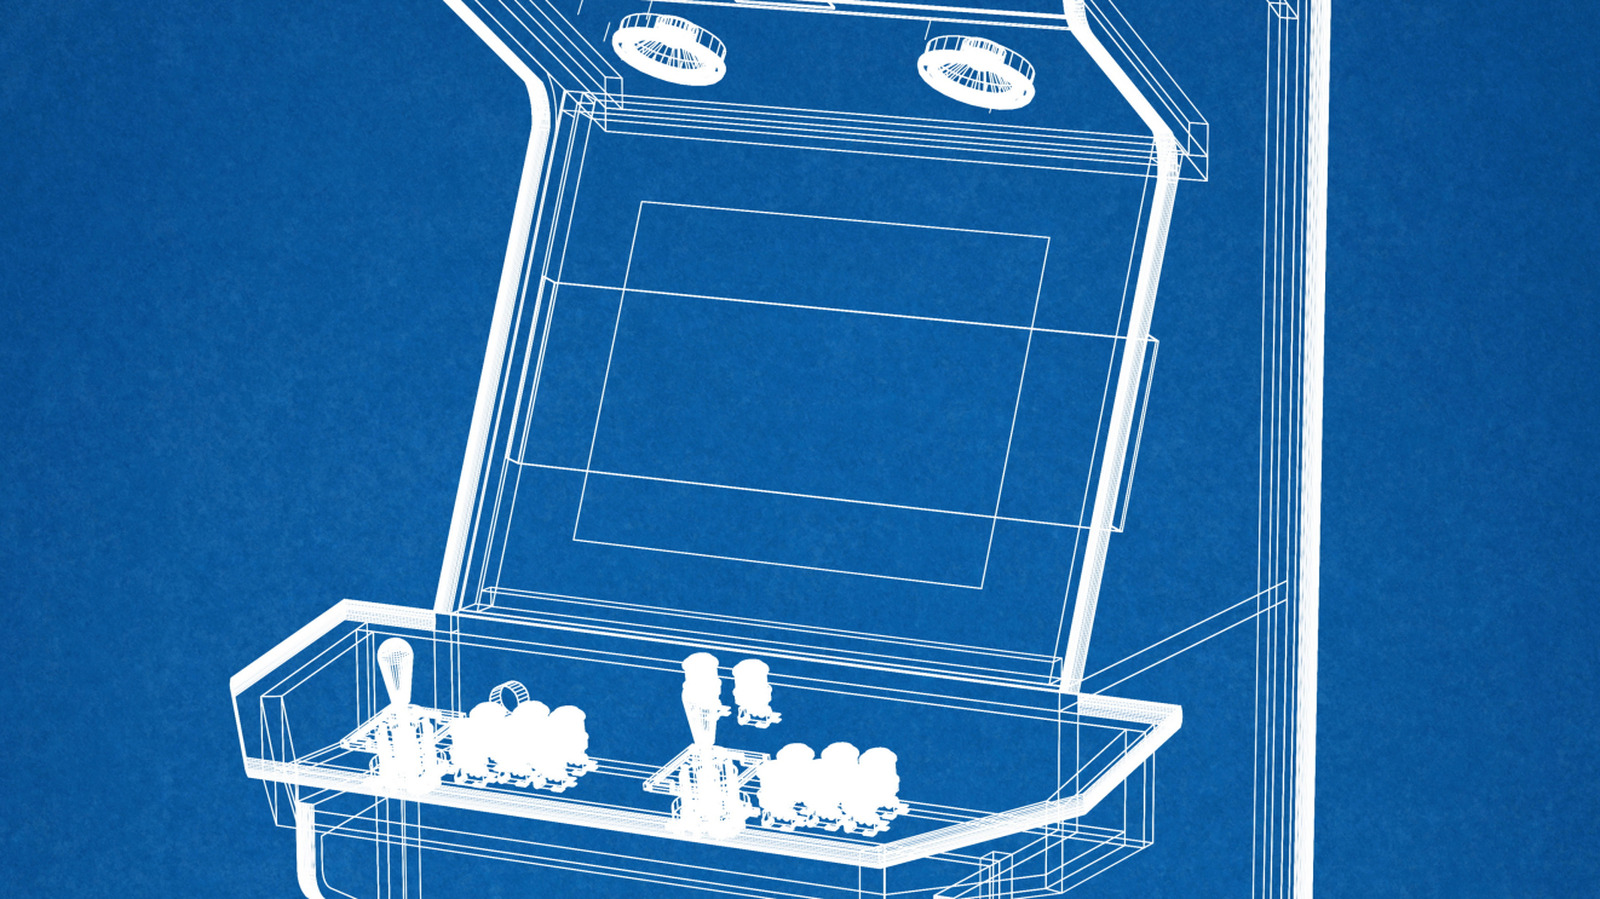
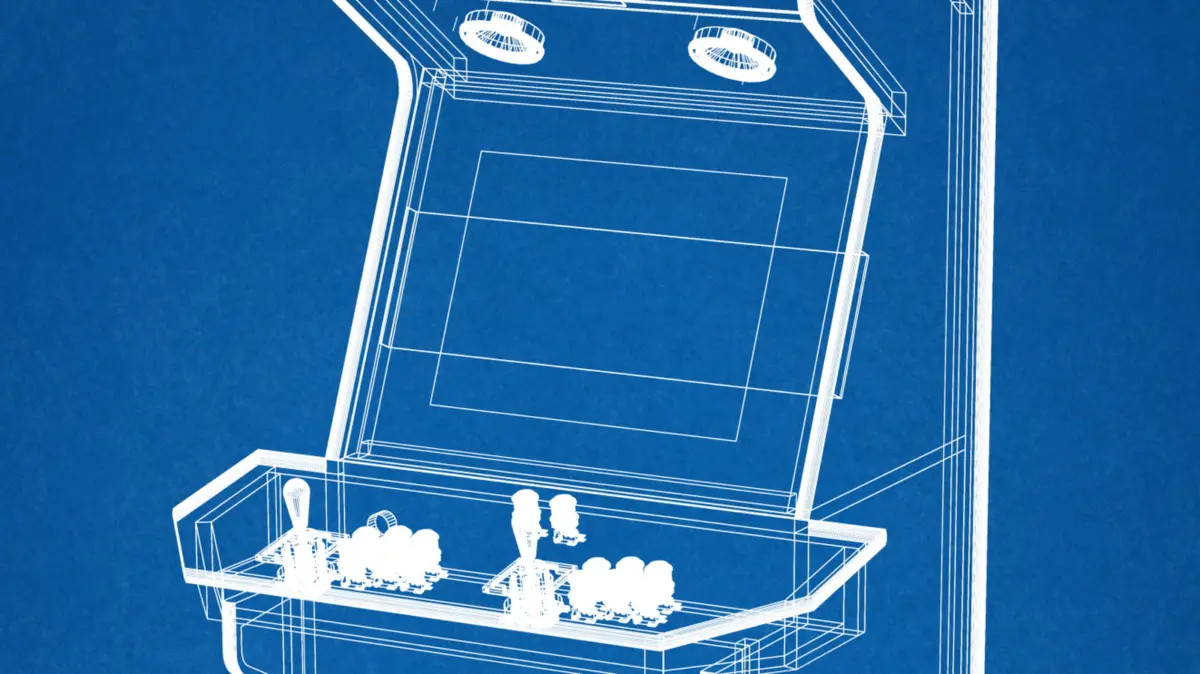
Player count compounds this complexity. A comfortable two-player layout requires significant horizontal real estate, which quickly balloons into a cramped, awkward four-player panel if you attempt to include multiplayer beat-’em-ups. Experienced builders universally recommend mocking up control layouts on cardboard before taking a drill or router to expensive sheets of wood. Testing ergonomics with actual arcade buttons and joysticks taped to a cardboard template ensures hand placement feels natural and prevents repetitive strain before final materials are cut.
Phase 2: Selecting the Processing Engine and Software Stack
Once your games and controls are mapped, you must choose the brain of your operation. Modern retro-gaming relies heavily on emulation platforms, and your choice of computer hardware will dictate how far up the timeline of gaming history your cabinet can travel.
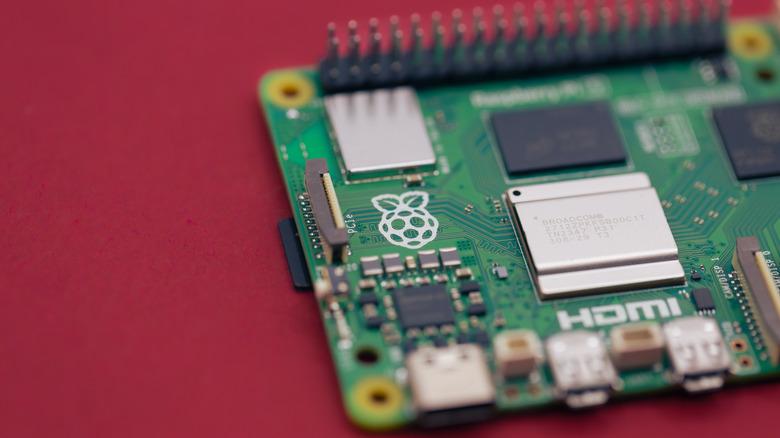
- The Raspberry Pi Ecosystem: For many, the default inclination is to acquire the latest Raspberry Pi. The Raspberry Pi 5 (available in 2GB and 4GB configurations) offers phenomenal performance for classic arcade emulation, home consoles up to the 16-bit era, and select 32-bit systems. For standard arcade deployment, the more affordable 2GB variant of the Pi 5 provides ample overhead, as excessive RAM yields minimal benefit for retro emulation. However, builders using a Pi 5 must account for hardware changes, such as the removal of the traditional 3.5mm audio jack, requiring audio routing via HDMI or USB, as well as thermal management strategies like active cooling fans to prevent thermal throttling during heavy loads.
- Repurposed x86 PCs: If your library includes demanding 3D arcade hardware (such as Sega Naomi or Taito Type X) or newer console systems, an old office desktop, mini PC, or repurposed laptop collecting dust in a closet may be the superior choice. Modern Intel integrated graphics found on standard x86 processors can deliver exceptional emulation performance when paired with compatible Linux distributions.
Operating system and front-end selection go hand-in-hand with hardware choice:
- Recalbox and Batocera: These all-in-one operating systems bundle a user-friendly front-end (EmulationStation) directly with underlying emulators and system tools. They provide a seamless, console-like experience out of the box and boast broad compatibility across both Raspberry Pi boards and x86 PCs.
- RetroPie: Historically the dominant choice for Pi builders, RetroPie remains popular, though builders utilizing the newest Raspberry Pi 5 hardware should verify current image availability, as official weekly-image directories frequently require time to adapt to cutting-edge single-board computer releases.
Phase 3: Cabinet Fabrication and Sourcing
With your computer and controls selected, you must decide how to house the electronics. There are three primary avenues for obtaining an arcade cabinet:
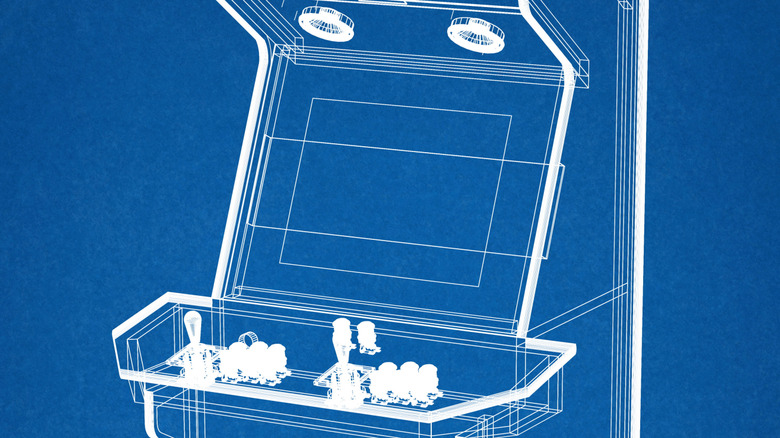
- Scratch Building: Purchasing raw sheets of plywood or Medium-Density Fiberboard (MDF), measuring, cutting, and assembling the enclosure yourself using woodworking tools. This offers ultimate customization but requires advanced tools, skill, and time.
- Flat-Pack Kits: Buying pre-cut CNC routing kits from specialized manufacturers (such as Game Room Solutions). These kits arrive disassembled like high-end furniture, utilizing interlocking tabs that make assembly straightforward while ensuring precise angles and clean lines.
- Repurposing Originals: Finding an abandoned, non-working, or empty original arcade cabinet on the secondhand market and gutting it to house modern flat-screen monitors and lightweight computers.
Supporting Context & Metrics: Breaking Down the Hardware List and Costs
One of the most surprising realizations for first-time builders is that constructing an arcade cabinet yourself is not automatically cheaper than buying a mass-market retail alternative. To understand why, one must look closely at the component checklist and analyze the cumulative financial metrics of a build.
The Essential Hardware Checklist
Beyond the main enclosure and the computer, a complete arcade build requires a staggering array of supporting components:
- Display: A flat-screen monitor or repurposed television.
- Mounting Hardware: VESA mounts or custom wooden braces to secure the screen within the marquee frame.
- Control Interface: Joysticks, arcade buttons, and a USB encoder (which translates physical microswitch activations into digital keyboard/gamepad inputs recognized by the computer).
- Audio System: An independent audio amplifier and stereo speakers to overcome ambient room noise.
- Power Infrastructure: Heavy-duty power strips, internal wiring harnesses, power supplies for the Pi or PC, and an easily accessible master power switch.
- Cooling and Maintenance Access: Case fans for airflow and cabinet doors or removable panels to access internal components without destroying structural glue joints.
- Cosmetics: T-molding for raw wood edges, custom vinyl side-art graphics, backlit marquee inserts, and cosmetic coin doors.
Financial Breakdown: The Anatomy of a Build
To illustrate how quickly costs accumulate, consider a modular build utilizing parts from specialized vendors like Game Room Solutions:
- Basic unpainted bartop cabinet kit: $129.99
- Two-player control bundle (joysticks, buttons, wiring, USB encoder): $44.99
- Dedicated speaker and amplifier package: $29.99
- Raspberry Pi 5 (2GB variant): $65.00
At this juncture, before purchasing a monitor, storage media (microSD card or SSD), power supplies, cabling, or decorative vinyl artwork, the running total sits at approximately $270. When factoring in a quality display, custom artwork, authentic T-molding, and shipping fees, a fully customized, professional-grade DIY cabinet can easily push past $1,000.
For comparison, retail turnkey solutions like the Arcade1Up Pac-Man Deluxe retail for around $499.99. Therefore, the economic rationale for building a DIY cabinet relies heavily on hardware recycling—such as utilizing an old monitor, spare PC parts, or scrap wood—and the ultimate value placed on absolute customization.
Official Guidelines: Software Legality and ROM Ethics
No discussion of retro arcade emulation is complete without addressing the legal framework surrounding game software, commonly known as ROMs (Read-Only Memory images).
Emulation software itself—including programs like MAME (Multiple Arcade Machine Emulator), RetroArch, and Batocera—is entirely legal, as it merely replicates hardware functionality through software code. However, the game ROMs and disk images executed on these emulators are protected by intellectual property and copyright laws.
Major emulation projects and legal authorities explicitly advise users on ethical acquisition paths:
- Licensed Distribution: Utilizing freeware ROMs, homebrew games, or commercial indie titles explicitly released for free, non-commercial use by their creators.
- Personal Dumps: Legally backing up (dumping) data directly from physical arcade printed circuit boards (PCBs) or cartridges that the user physically owns.
Navigating this grey area is a fundamental responsibility for every retro arcade builder, ensuring that the preservation of gaming history respects the intellectual property of the developers who created it.
Future Outlook: The Evolution of Home Arcade Engineering
The landscape of DIY retro arcade building continues to evolve at a rapid pace. As single-board computers become more powerful and affordable, the performance ceiling for compact arcade cabinets is higher than ever. We are moving away from the era where emulating demanding 3D arcade boards required massive, noisy server towers hidden inside bulky wooden frames. Today, a credit-card-sized board can quietly run complex 16-bit and 32-bit libraries with flawless frame rates.
At the same time, the accessibility of CNC routing and custom vinyl printing has democratized cabinet aesthetics. Enthusiasts no longer need professional woodworking shops to achieve factory-grade finishes; flat-pack modular designs allow anyone with basic household tools to assemble a pristine, museum-quality replica of their favorite classic arcade machine.
Whether undertaken as a nostalgic weekend project, a masterclass in woodworking and electronics, or an earnest attempt to preserve the golden age of interactive entertainment, building a custom retro arcade cabinet remains one of the most rewarding endeavors a gaming enthusiast can pursue. By carefully planning your game library, balancing your hardware budget, and thoughtfully assembling your control interface, you can craft a timeless centerpiece that honors the rich heritage of arcade gaming for decades to come.