

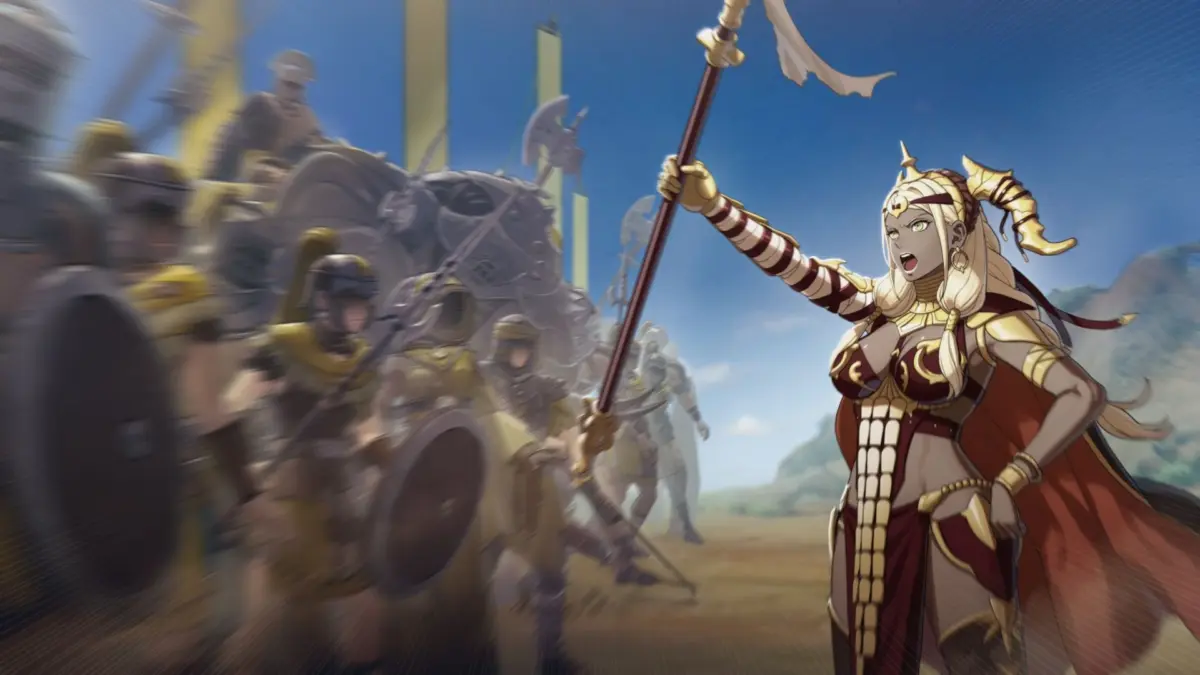
Executive Overview
For tactical role-playing game enthusiasts diving into Intelligent Systems and Nintendo’s sprawling tactical epic, Fire Emblem: Fortune’s Weave, progress is measured not just by tactical victories, but by the weight of narrative milestones. Among these, the transition from Act 1 to Act 3 stands as one of the most mechanically pivotal moments in the entire campaign.
At the center of this crossroads sits the War Arc (Act 2), a mandatory-feeling crucible that bridges the introductory Flame Lord paths with the grand escalation of the game’s final act. However, Fortune’s Weave introduces a fascinating structural wrinkle: the option to bypass this entire segment entirely by interacting with the Strife Obelisk.
While the prospect of skipping hours of combat to fast-track your journey to the endgame is undeniably tempting for veteran players and time-constrained tacticians, the decision carries sweeping consequences. Bypassing the War Arc impacts everything from your roster’s baseline statistics and skill proficiencies to your overarching narrative comprehension. This report explores the mechanics behind the Strife Obelisk, analyzes the strategic pros and cons of skipping Act 2, and provides a definitive guide on whether you should fast-forward through the conflict or fight your way through the trenches.
Detailed Chronology: Navigating the Crossroads of Act 1 and Act 3
To understand the weight of the War Arc, one must first examine where it fits within the broader architecture of Fire Emblem: Fortune’s Weave.
The End of Act 1 and the Appearance of the Strife Obelisk
As players complete Act 1 with any of the game’s central Flame Lords, the narrative landscape shifts dramatically. The localized skirmishes and character-defining introductory arcs give way to a looming global conflict. At this exact juncture, players encounter a new fixture on the map: the Strife Obelisk.
Interacting with this monolithic structure triggers a system prompt that changes the trajectory of your playthrough. The game essentially asks: Do you wish to experience the unified campaigns of the War Arc, or do you want to accelerate straight into the final act?
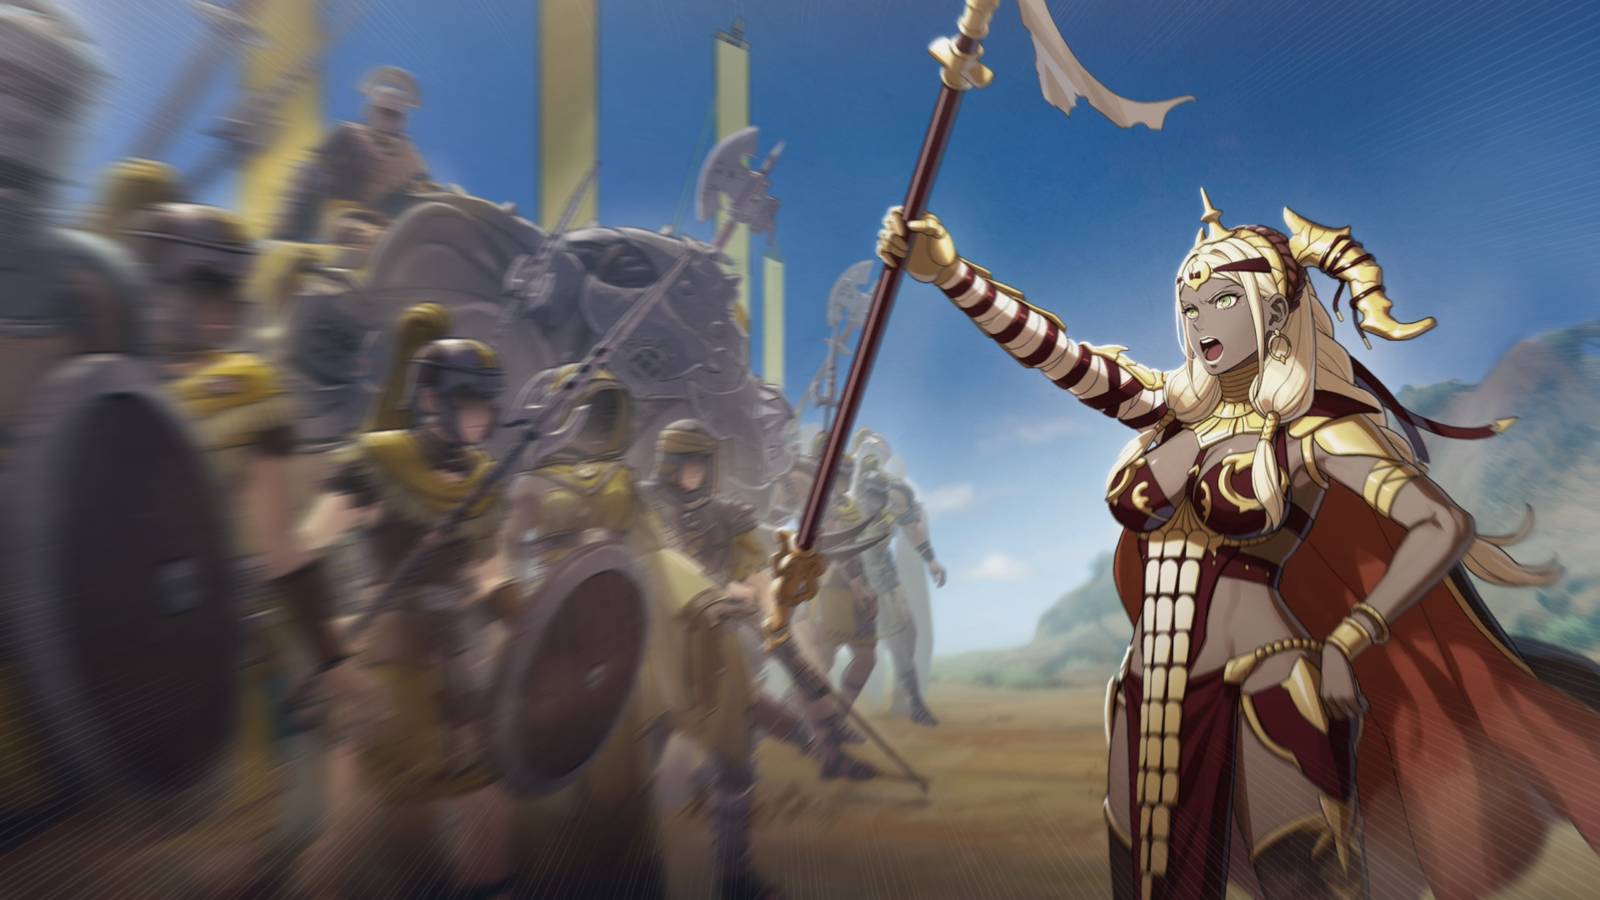
If a player chooses to ignore the obelisk and simply proceeds through the standard progression door, they face a severe restriction: they will cross the threshold into the final campaign entirely isolated, unable to bring their amassed roster of secondary units along for the ride. Conversely, interacting with the obelisk unlocks the official system toggle to bypass Act 2 altogether.
What Happens When You Skip the War Arc?
When a player elects to skip the War Arc via the Strife Obelisk, the game executes several automated background adjustments to ensure the save file remains viable for Act 3:
- Automatic Level Calibration: Every character in your roster is instantly bumped up to Level 45. This is intentionally calibrated to match the minimum recommended threshold required to survive the steep difficulty spike of Act 3.
- Narrative Fast-Forward: The overarching plot points of the War Arc are summarized, pushing the player directly into the staging grounds of the final campaign.
- Map and Scenario Bypassing: Because the maps and core scenario beats of Act 2 are largely uniform across different character routes—featuring only minor bookended narrative differences at the very beginning and end—skipping the arc ensures players do not miss unique character-specific strategic scenarios during the mid-game.
Supporting Context & Metrics: The Pros and Cons of Bypassing Act 2
Deciding whether to skip the War Arc is not merely a matter of saving time; it is a fundamental choice regarding how you want to shape your final army. Below is an exhaustive breakdown of the strategic advantages and disadvantages associated with utilizing the Strife Obelisk.
Why You Should Skip the War Arc
- Efficiency for Multiple Playthroughs: If you are a veteran player working through Fortune’s Weave‘s massive branching pathways for a second, third, or fourth time, Act 2 can quickly turn into a repetitive exercise. Skipping it eliminates redundant map clears.
- Rapid Route Testing and Adjustments: If you went back to replay specific Act 1 chapters to experiment with different character builds, tweak unit recruitment, or optimize support levels, skipping the War Arc lets you instantly funnel those newly optimized units straight into Act 3 without grinding through the mid-game again.
- Catch-Up Mechanics: For players juggling multiple armies or struggling to keep secondary units leveled, the guaranteed jump to Level 45 removes the tedious bottleneck of power-leveling obsolete units from scratch.
- Flexible Re-entry: The game does not lock you into a permanent decision. You can choose to skip parts of Act 2, pause, return to pick up standard progress, or test out scenarios at your own pace.
Why You Should Play Through the War Arc
- Your First Playthrough is Sacred: If this is your maiden voyage through Fortune’s Weave, skipping the War Arc is heavily discouraged. Act 2 serves as the primary narrative and mechanical bridge between the localized stakes of Act 1 and the global cataclysm of Act 3. Without it, the emotional resonance of the final act’s twists and turns loses its foundational weight.
- Stat Growth and Level 50 Potential: While the obelisk bumps your units to Level 45, playing through Act 2 manually allows astute tacticians to farm reinforcements, clear side objectives, and push their primary units closer to Level 50 or higher. That five-to-ten-level difference can be the margin between victory and defeat against Act 3’s endgame bosses.
- Granular Control Over Skill Ranks and Classes: Manual progression grants you endless opportunities to execute combat drills, experiment with class trees, and grind weapon and magic skill ranks. Skipping the arc robs you of this sandbox phase, leaving you with pre-determined automated stats that may not synergize ideally with your preferred tactical playstyle.
- Reduced Micro-Management Shock: Because manual play forces you to scale your units organically, you develop an intuitive understanding of your army’s strengths and weaknesses incrementally. Jumping straight to Level 45 can overwhelm players with a sudden influx of high-tier skills, equipment, and promotion decisions all at once.
Official Statements and Design Philosophy
Intelligent Systems has long been celebrated for engineering deep, often punishing tactical role-playing experiences. In interviews surrounding the development lifecycle of Fortune’s Weave, directors and lead designers noted a conscious effort to respect the player’s time while preserving the series’ trademark strategic integrity.
By introducing the Strife Obelisk, the development team aimed to solve a long-standing critique of massive RPGs: mid-game fatigue. In sprawling titles where multiple routes and extensive character rosters demand dozens—if not hundreds—of hours of investment, forcing players through identical middle chapters across every single route can lead to burnout.
The Strife Obelisk functions as a pressure-release valve. It acknowledges that while purists will always prefer the grueling, organic growth of manual progression, modern gamers—particularly completionists trying to experience every branching narrative path—benefit immensely from structural quality-of-life shortcuts. It is a design philosophy rooted in player agency, allowing you to tailor the pacing of the campaign to your personal gaming habits.

Future Outlook: Positioning Your Campaign for Act 3 and Beyond
Whether you choose to harness the power of the Strife Obelisk or march your army painstakingly through every skirmish of the War Arc, your ultimate destination remains the same: the unforgiving battlefields of Act 3.
As the community continues to dissect the intricate causality loops, recruitable character support thresholds, and optimal resource management strategies of Fortune’s Weave, understanding mid-game checkpoints like the Strife Obelisk becomes essential.
If your goal is absolute mastery, min-maxed stat ceilings, and complete narrative immersion, bypass the obelisk and bleed for every inch of territory in Act 2. But if you are eager to test out experimental character routes, streamline your playthroughs, or dive headfirst into the endgame challenges without the mid-game slog, the Strife Obelisk stands ready to bridge the gap.
Whichever path you choose, remember that Fortune’s Weave is a game designed to be explored on your own terms. Equip your units wisely, master your weapon proficiencies, take occasional breaks for Bird Time at the Perch, and prepare yourself for the ultimate test of tactical genius awaiting behind the doors of Act 3.