

Executive Overview
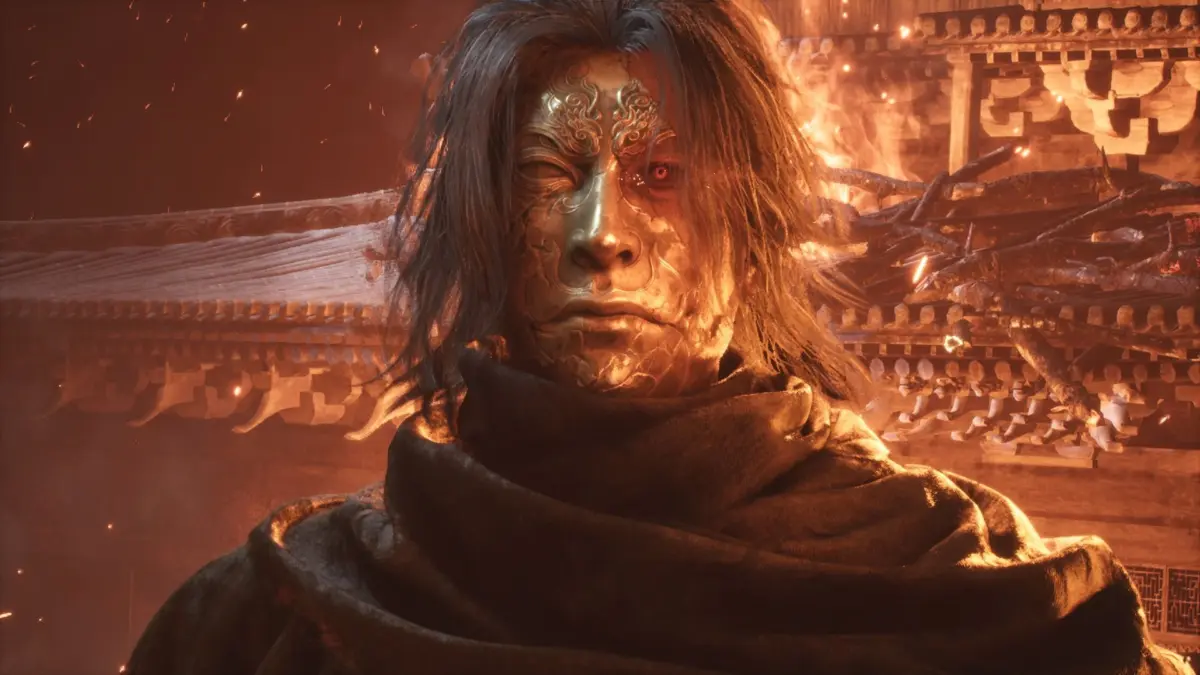
Phantom Blade Zero has captured the attention of the action-RPG community with its blistering pace, intricate martial arts choreography, and demanding combat systems. Developed as a dark, fast-paced "kung-fu punk" adventure, the title challenges players to adapt to a myriad of hostile encounters that test reflexes, spatial awareness, and resource management. Among these early-to-mid-game hurdles, the encounter with The Gold-Masked One inside the Long Pillar stands out as a critical skill check.
Situated within the "Bloodline Awakening" questline, the Long Pillar challenge is far more than a standard boss battle; it functions as an interactive tutorial designed to fundamentally reshape how the player approaches combat. While the core philosophy of Phantom Blade Zero often encourages relentless aggression—capitalizing on free regular attacks that bypass the resource costs of Sha-Chi—The Gold-Masked One actively punishes this instinct. This encounter serves as a deliberate paradigm shift, forcing players to transition from aggressive onslaughts to disciplined, defense-oriented play centered on precise parrying and stamina management.
For many players, this encounter serves as an intimidating brick wall, owing largely to the boss’s massive health pool and a specific gameplay gimmick that renders standard offensive strategies completely ineffective. Success requires patience, meticulous gear optimization, and a deep understanding of the game’s defensive mechanics. This guide provides an exhaustive tactical breakdown of the encounter, analyzing its core mechanics, optimal loadouts, strategic sequencing, and the broader implications of conquering the Long Pillar for your progression through the game’s unfolding narrative.
Detailed Chronology: Navigating the Long Pillar Encounter
To successfully overcome The Gold-Masked One, players must deconstruct the flow of the battle into distinct strategic phases. Approaching this fight requires an understanding of how the encounter begins, how its mechanics dictate your rhythm, and how to survive the war of attrition.
Phase 1: Breaking the Habit of Aggression
When you first step into the Long Pillar to face The Gold-Masked One, the game immediately signals a departure from its standard rules via a prompt in the top right corner of the screen. In most encounters across Phantom Blade Zero, momentum is king. Players are rewarded for closing the distance, unleashing unceasing combos, and keeping the pressure on enemies without worrying about basic resource depletion, as regular strikes do not consume Sha-Chi.
However, attempting this standard playstyle against The Gold-Masked One is a recipe for swift defeat. The boss’s unique defensive properties and counter-offensives mean that unchecked aggression will result in you being heavily punished, staggered, or outright decimated by high-damage retaliatory strikes. The first phase of mastering this fight is psychological: you must unlearn the instinct to attack first.
Phase 2: The Art of the Defensive Pivot
With direct attacks rendered largely ineffective or actively dangerous, the core mechanic of the encounter becomes the parry. The battle is structured explicitly to teach you the timing, risk, and reward of defensive redirection.
- Observation and Timing: The Gold-Masked One utilizes a diverse repertoire of martial arts strikes, featuring varying wind-up animations and tempo changes designed to catch panic-parries. You must watch the boss’s shoulders and weapon alignment rather than the surrounding visual noise.
- The Riposte Window: Successful parries not only negate incoming damage but also destabilize the boss, creating narrow openings for targeted, high-impact counterattacks.
- Sha-Chi Management: Because your offensive output is restricted, every opening must count. Conserving Sha-Chi for the precise moments when the boss is staggered ensures that your retaliatory strikes deal maximum possible damage to that formidable health bar.
Phase 3: Surviving the War of Attrition
The primary difficulty of The Gold-Masked One does not stem from complex, screen-filling magical spells or erratic multi-stage transformations; rather, it is a pure test of endurance. The boss possesses an exceptionally large health pool, meaning the encounter will inevitably stretch across several minutes of intense concentration.
This longevity introduces fatigue-based errors. A player who has successfully parried for three minutes straight may drop their guard out of impatience during the fourth minute, leading to a cascading failure. Recognizing this psychological hurdle is vital. Treat the battle not as a race to deplete health, but as a sustained martial arts duel where consistency outweighs speed.
Supporting Context & Metrics: Preparation, Gear, and Progression
Because The Gold-Masked One is a battle of attrition, raw mechanical skill can often be supplemented—and sometimes rescued—by proper preparation, gear optimization, and character progression. Rushing into the Long Pillar under-leveled or under-equipped will turn an already punishing fight into an exercise in extreme frustration.
Equipment and Loadout Optimization
Before committing to a serious attempt on the Long Pillar, ensure your arsenal is pushed to its absolute limits.
- Weapon Upgrades: Visit blacksmiths and upgrade your primary weapon as far as current resource availability allows. Every fractional increase in base damage compounds over the hundreds of parries and counter-strikes required to drain the boss’s health bar.
- Accessory Synergy: Equip accessories that directly support survivability and resource generation. An optimized loadout for this specific trial typically includes:
- Quick Hand Pendant: Increases one-handed weapon damage, ensuring that your limited offensive windows yield heavier dividends.
- Ancient Armor Fragment: Provides essential damage negation, granting a wider margin for error when a parry is mistimed.
- Jewel’s Knot: Boosts maximum HP, offering a vital buffer against the boss’s heaviest unblockable or poorly mitigated attacks.
- Resonance Talisman: Enhances Sha-Chi generation, allowing for more frequent usage of special abilities when an opening finally presents itself.
+------------------------+---------------------------------------+
| Accessory Item         | Primary Strategic Benefit             |
+------------------------+---------------------------------------+
| Quick Hand Pendant     | Maximizes one-handed weapon output    |
| Ancient Armor Fragment | Mitigates incoming damage via defense |
| Jewel's Knot           | Expands maximum health pool (HP)      |
| Resonance Talisman     | Accelerates Sha-Chi resource regen    |
+------------------------+---------------------------------------+
The Value of Pacing and Strategic Retreat
One of the most liberating realizations for players tackling Phantom Blade Zero is that there is no rush to beat The Gold-Masked One the moment you discover the Long Pillar.
The game’s open-ended structure allows players to walk away, explore alternative regions, and progress through the main narrative thread—specifically arriving in areas such as Pangzhen. As you journey onward, your character naturally grows stronger:
- Your maximum HP and Sha-Chi pools expand organically.
- Access to higher-tier crafting materials unlocks superior weapon upgrades.
- Late-game mechanics introduce systems such as accessory polishing, which significantly amplifies the passive buffs granted by your equipped gear.
Coming back to the Long Pillar after establishing a foothold in Pangzhen transforms the encounter from an oppressive wall into a manageable, highly satisfying tactical puzzle. If you choose to stubbornly persist at the lowest recommended level, prepare yourself mentally for a marathon engagement.
Official Statements and Design Philosophy
While Phantom Blade Zero has drawn widespread acclaim for its visceral combat direction, the development team behind the project—S-Game—has consistently emphasized that the game is designed to challenge modern action-RPG conventions. In various developer insights and preview deep-dives, the team has articulated a philosophy centered on "authentic martial arts pacing."
Unlike hack-and-slash titles where players can mindlessly mash input combinations to achieve victory, S-Game’s design pillars prioritize weight, momentum, and deliberate choice. The implementation of encounters like the Long Pillar challenges is intentional; they act as pedagogical checkpoints. According to design commentary surrounding the game’s combat mechanics, bosses such as The Gold-Masked One are intentionally placed to prevent players from relying on bad habits cultivated in earlier, less demanding skirmishes.
Furthermore, the developers have stressed that environmental exploration and character growth are deeply intertwined. The ability to step away from a roadblock, upgrade equipment, and return with refined mastery is a core gameplay loop engineered to respect the player’s time while rewarding perseverance. The transition from struggling against a war of attrition to effortlessly executing parries embodies the exact power fantasy S-Game aims to deliver: the evolution of the protagonist from a struggling wanderer into a legendary martial arts master.
Future Outlook and Rewards
Conquering The Gold-Masked One is not merely a badge of honor; it unlocks substantial mechanical and structural progression that alters the trajectory of your playthrough.
The Spoils of Victory: Counterstrike Bracers
Upon finally breaking the defense of The Gold-Masked One and surviving the grueling trial, players are awarded the Counterstrike Bracers. This powerful gear piece fundamentally shifts your offensive potential by granting a 20% damage increase for two seconds immediately following a successful parry.
This reward creates a synergistic loop with the very skill the boss was designed to teach you. By mastering the defensive parry, you are rewarded with an explosive offensive window, transforming the defensive discipline learned in the Long Pillar into a devastating tool for all subsequent combat encounters in the game.
Expanding the Horizon: The Crimson Forest
Beyond the immediate gear upgrade, defeating The Gold-Masked One opens up the wider world map and quest progression. Specifically, victory grants access to the second Long Pillar challenge located in the Crimson Forest.
As players look toward the horizon of Phantom Blade Zero‘s development and eventual release landscape, mastering these regional pillars provides essential preparation for the endgame content. The lessons learned inside the first Long Pillar—patience, precise timing, resource conservation, and loadout optimization—will serve as the foundational bedrock required to face the even greater horrors and grandmasters waiting in the deeper, darker corners of the game’s martial arts universe.